


How to Install a Kitchen Sink Tap Properly
Installing a kitchen sink tap might seem like a daunting task, but with a little patience and the right tools, it’s a straightforward project that can save you time and money. Whether you’re upgrading to a sleek new design or replacing a broken tap, knowing how to install a kitchen sink tap properly is crucial for long-term durability and functionality.
In this article, we’ll walk you through the step-by-step process of kitchen tap installation, with tips to ensure your installation is clean, leak-free, and efficient. Follow these guidelines, and you’ll be enjoying your newly installed tap in no time.
Step 1: Gather Your Tools and Materials
Before diving into the tap installation, it’s important to gather all the necessary tools and materials. This will ensure that you don’t have to stop halfway through the job to find something you forgot. Here’s what you’ll need:
- New Kitchen Sink Tap: Choose a model that fits your sink and meets your design preferences.
- Adjustable Wrench: For loosening and tightening the connections.
- Plumber’s Tape: Also known as Teflon tape, used to prevent leaks in threaded connections.
- Basin Wrench: A special wrench designed for tightening bolts in tight spaces, particularly under the sink.
- Bucket or Towel: To catch any water during the process.
- Channel Lock Pliers: To secure connections.
- Flashlight (if needed): To see better in dark or tight spaces.
- Pipe Wrench (optional): For stubborn or hard-to-remove connections.
Once you have everything prepared, you’re ready to begin the kitchen tap installation.
Step 2: Turn Off the Water Supply
Before starting any plumbing work, it’s essential to turn off the water supply to the sink. Look for the shutoff valves under the sink and rotate them clockwise to close them. If you can’t find the valves, or if they are in poor condition, you may need to shut off the main water supply to the house.
Once the water supply is off, turn the existing tap on to relieve any pressure and drain out any leftover water from the pipes. This helps avoid any messy surprises during the installation.
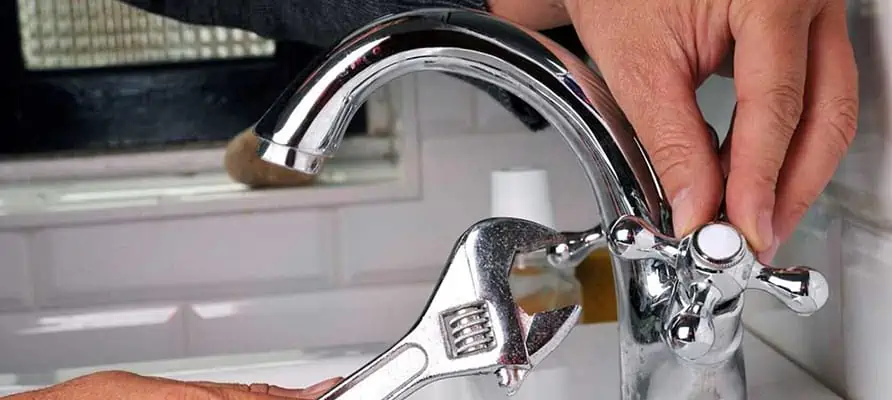
Step 3: Remove the Old Tap
If you’re replacing an old kitchen tap, the first thing you need to do is remove it. Start by loosening the mounting nuts holding the tap in place. These are typically located under the sink, and you may need a basin wrench or adjustable wrench to reach them.
Once the nuts are loose, carefully pull the old tap away from the sink. Be cautious of any remaining water in the pipes that may spill out. If there’s a flexible hose connected to the tap, use your pliers to disconnect it.
Step 4: Clean the Area
With the old tap removed, take a moment to clean the area around the sink where the new tap will be installed. Use a damp cloth to wipe away any debris or build-up. This ensures a clean, smooth surface for the new tap, reducing the risk of leaks.
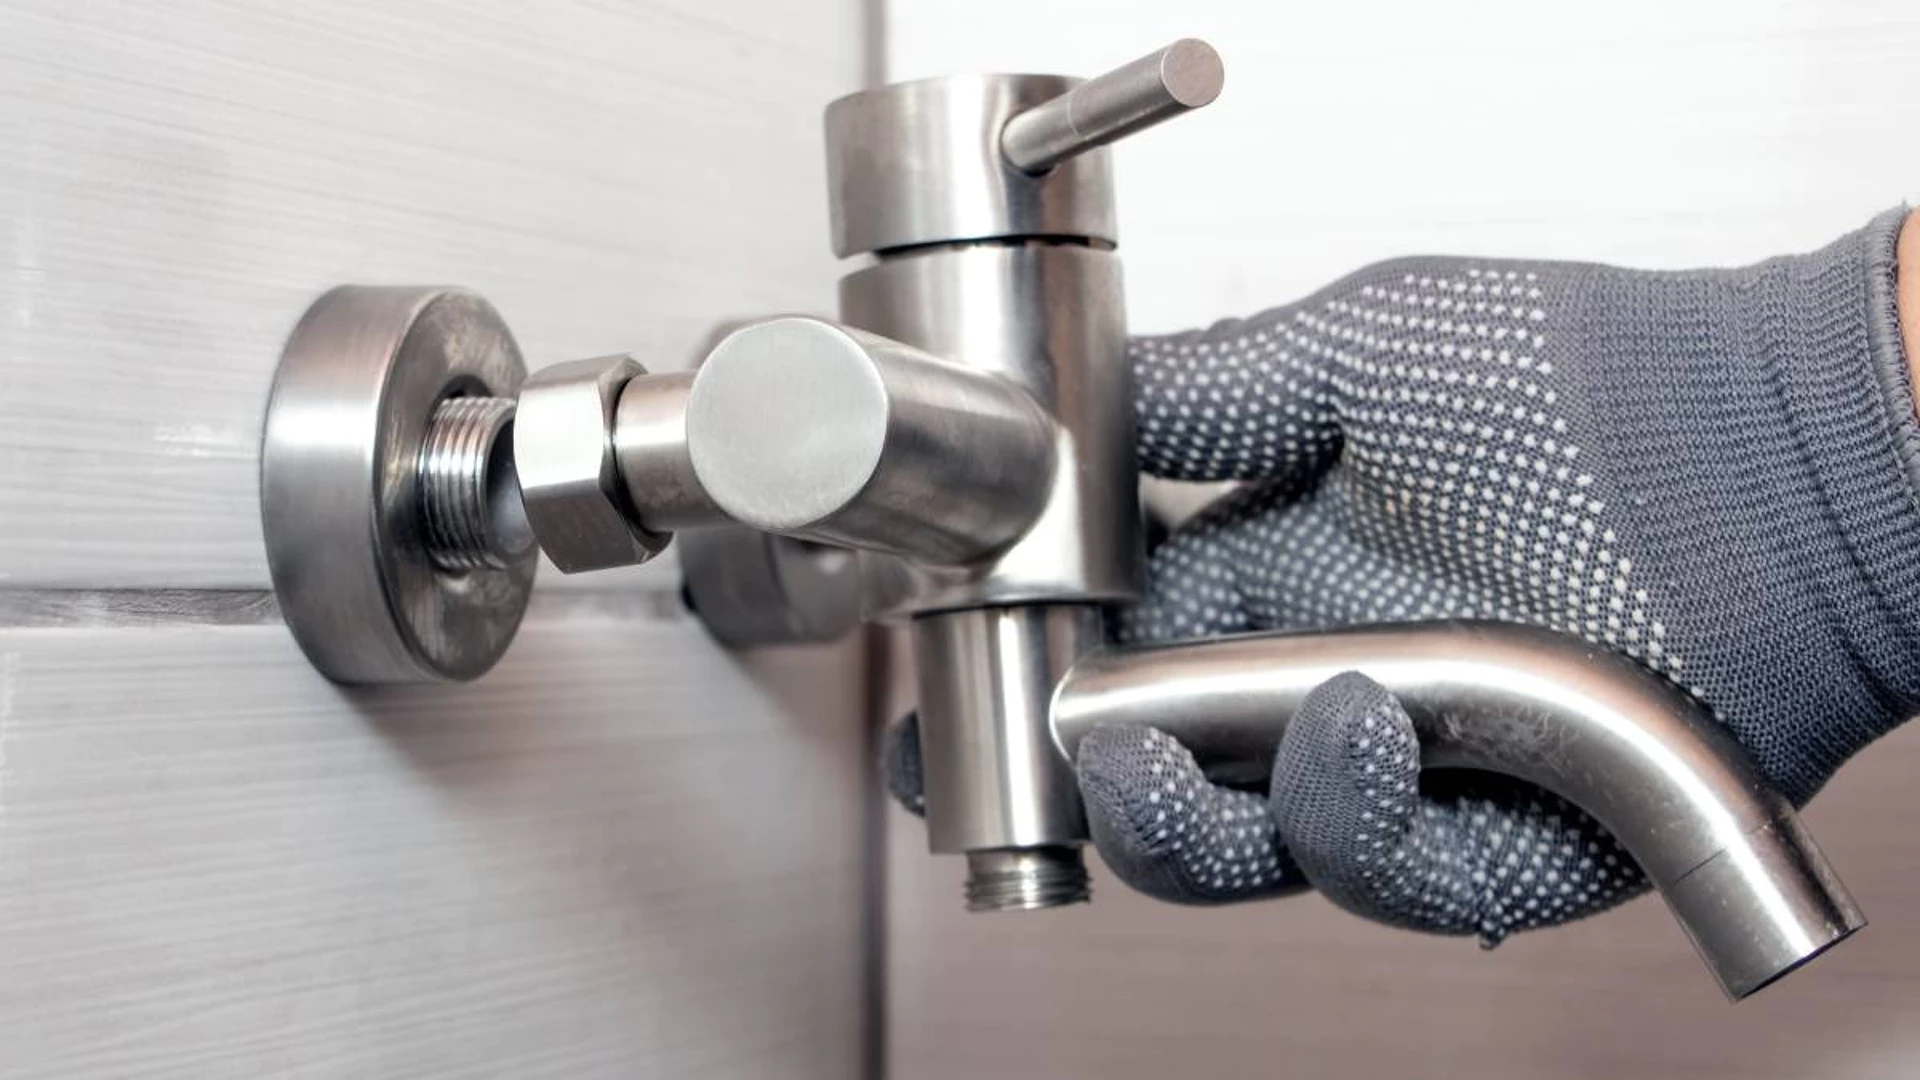
Step 5: Install the New Tap
Now, it’s time to install your new kitchen tap. Start by aligning the tap’s mounting holes with the holes in the sink. Carefully insert the tap into position, ensuring that the base is securely seated in place. Some taps may require a gasket or rubber ring to create a watertight seal. If your new tap has a rubber gasket, place it under the base of the tap.
Next, secure the tap by tightening the mounting nuts underneath the sink. Use your basin wrench or adjustable wrench to ensure they are firmly in place. Be cautious not to overtighten, as this could crack the sink or cause damage to the tap.
Step 6: Connect the Water Supply Lines
Once the tap is secured, it’s time to reconnect the water supply lines. Most new taps come with flexible water supply hoses that can be easily attached to the inlet valves. If your new tap requires a different connection, ensure that you have the correct fittings.
Apply plumber’s tape to the threaded connections on the water supply hoses to prevent leaks. Then, attach the hoses to the inlet valves on the wall. Tighten the connections with a wrench, but again, be careful not to overtighten.
Step 7: Check for Leaks
With the tap securely installed and the water lines connected, it’s time to check for any leaks. Turn the water supply back on, and slowly open the new tap. Observe the connections under the sink and around the faucet to ensure there are no leaks.
If you spot a leaking pipe, turn the water supply off and double-check the connections. Sometimes, a slight adjustment or re-tightening is all that’s needed to fix the problem. Don’t forget to check the base of the tap and the mounting nuts, as well as the water supply hose connections.
Step 8: Test the New Tap
Once you’re confident that there are no leaks, test your new kitchen sink tap by running both hot and cold water. Check the water flow and pressure to ensure that everything is functioning as expected. If the water flow is weak or there are issues with temperature control, you may need to make further adjustments or consult a professional plumber.
Step 9: Clean Up
With your new tap installed and working perfectly, it’s time to clean up the area. Dispose of any old parts, such as the old tap, mounting nuts, or hoses. Wipe down the sink area and surrounding surfaces to remove any leftover plumber’s tape or debris.
Conclusion
Kitchen tap installation is a relatively simple process, but it requires attention to detail and the proper tools to get the job done right. Whether you’re replacing an old, worn-out tap or installing a brand-new design, following these steps ensures a secure, leak-free installation.
By taking your time and being meticulous with each step, you’ll have a kitchen tap that looks great and performs efficiently. If you’re ever in doubt or encounter issues along the way, don’t hesitate to call a professional plumber to ensure your kitchen tap installation is handled with expertise. A well-installed tap not only enhances the look and functionality of your kitchen but also saves you from potential leaks and costly tap repairs down the line.
At Liquid Force Plumbing & Gas, our expert plumbers in Perth are ready to ensure your kitchen tap installation is done right the first time. If you’re not comfortable handling the installation yourself or need professional assistance, don’t hesitate to reach out. Contact us at 0422 673 766 or fill our booking form for a hassle-free, reliable, and efficient service in Perth!